Chapter 2: Building a Spring Boot Backend REST API for CRUD Operations - Part-1
In this chapter, we will focus on creating a Spring Boot application that serves as a backend REST API for performing CRUD (Create, Read, Update, Delete) operations on Public Toilets. We will utilize an in-memory H2 database to store the data temporarily. In the subsequent chapter, we will replace the in-memory data store with a persistent database.
This chapter is part of the ReactJS and Spring Boot workshop series. It can be followed independently if you are interested in creating a simple Spring Boot application. However, for a comprehensive understanding, we recommend following the complete series, which can be found here.
Setting up the Development Environment
Before we start developing the Spring backend Rest Services, it's important to ensure that your local environment is set up for Java development. Please follow the instructions provided in the Install Java Development Tools tutorial to set up your local system.
Once you have completed the setup and confirmed that your environment is ready for Java development, you can come back to this tutorial and continue with the next steps.
Creating a New Spring Boot Project
To get started, let's create a new Spring Boot project using the Spring Initializr. Follow the steps below:
- Go to start.spring.io.
- Choose the following project options:
- Project: Maven Project
- Language: Java
- Spring Boot: 2.7.11 (or Latest Version)
- Group: com.certifysphere
- Artifact: public-toilet-service
- Description: Backend Rest Services for Public Toilets App
- Packaging: Jar
- Java: 11
- Click on "Add Dependencies" and add the following dependencies:
- Spring Web
- Spring Data JPA
- H2 Database
- Click on "Generate" to download the project.
You can use this link to generate and download the pre-configured base project: start.spring.io pre-configured link
- When you click on "Generate," it should download a zip file. Move this file to the workshop root folder (reactjs-springboot-workshop) and unzip it. You should have the following directory structure:
reactjs-springboot-workshop/
  ├── public-toilet-app/
  └── public-toilet-service/
- Open the
public-toilet-servicedirectory in VS Code:
cd reactjs-springboot-workshop/public-toilet-service/
Build the project
Build the project using Maven to ensure our environment is properly set up:
./mvnw clean package
Or
mvn clean package
You should see BUILD SUCCESS if everything is properly set up.
Run the Service:
- We can run our backend service app from the terminal or command prompt or from VS Code.
./mvnw spring-boot:run
This will start the Public Toilet Service on a local server.
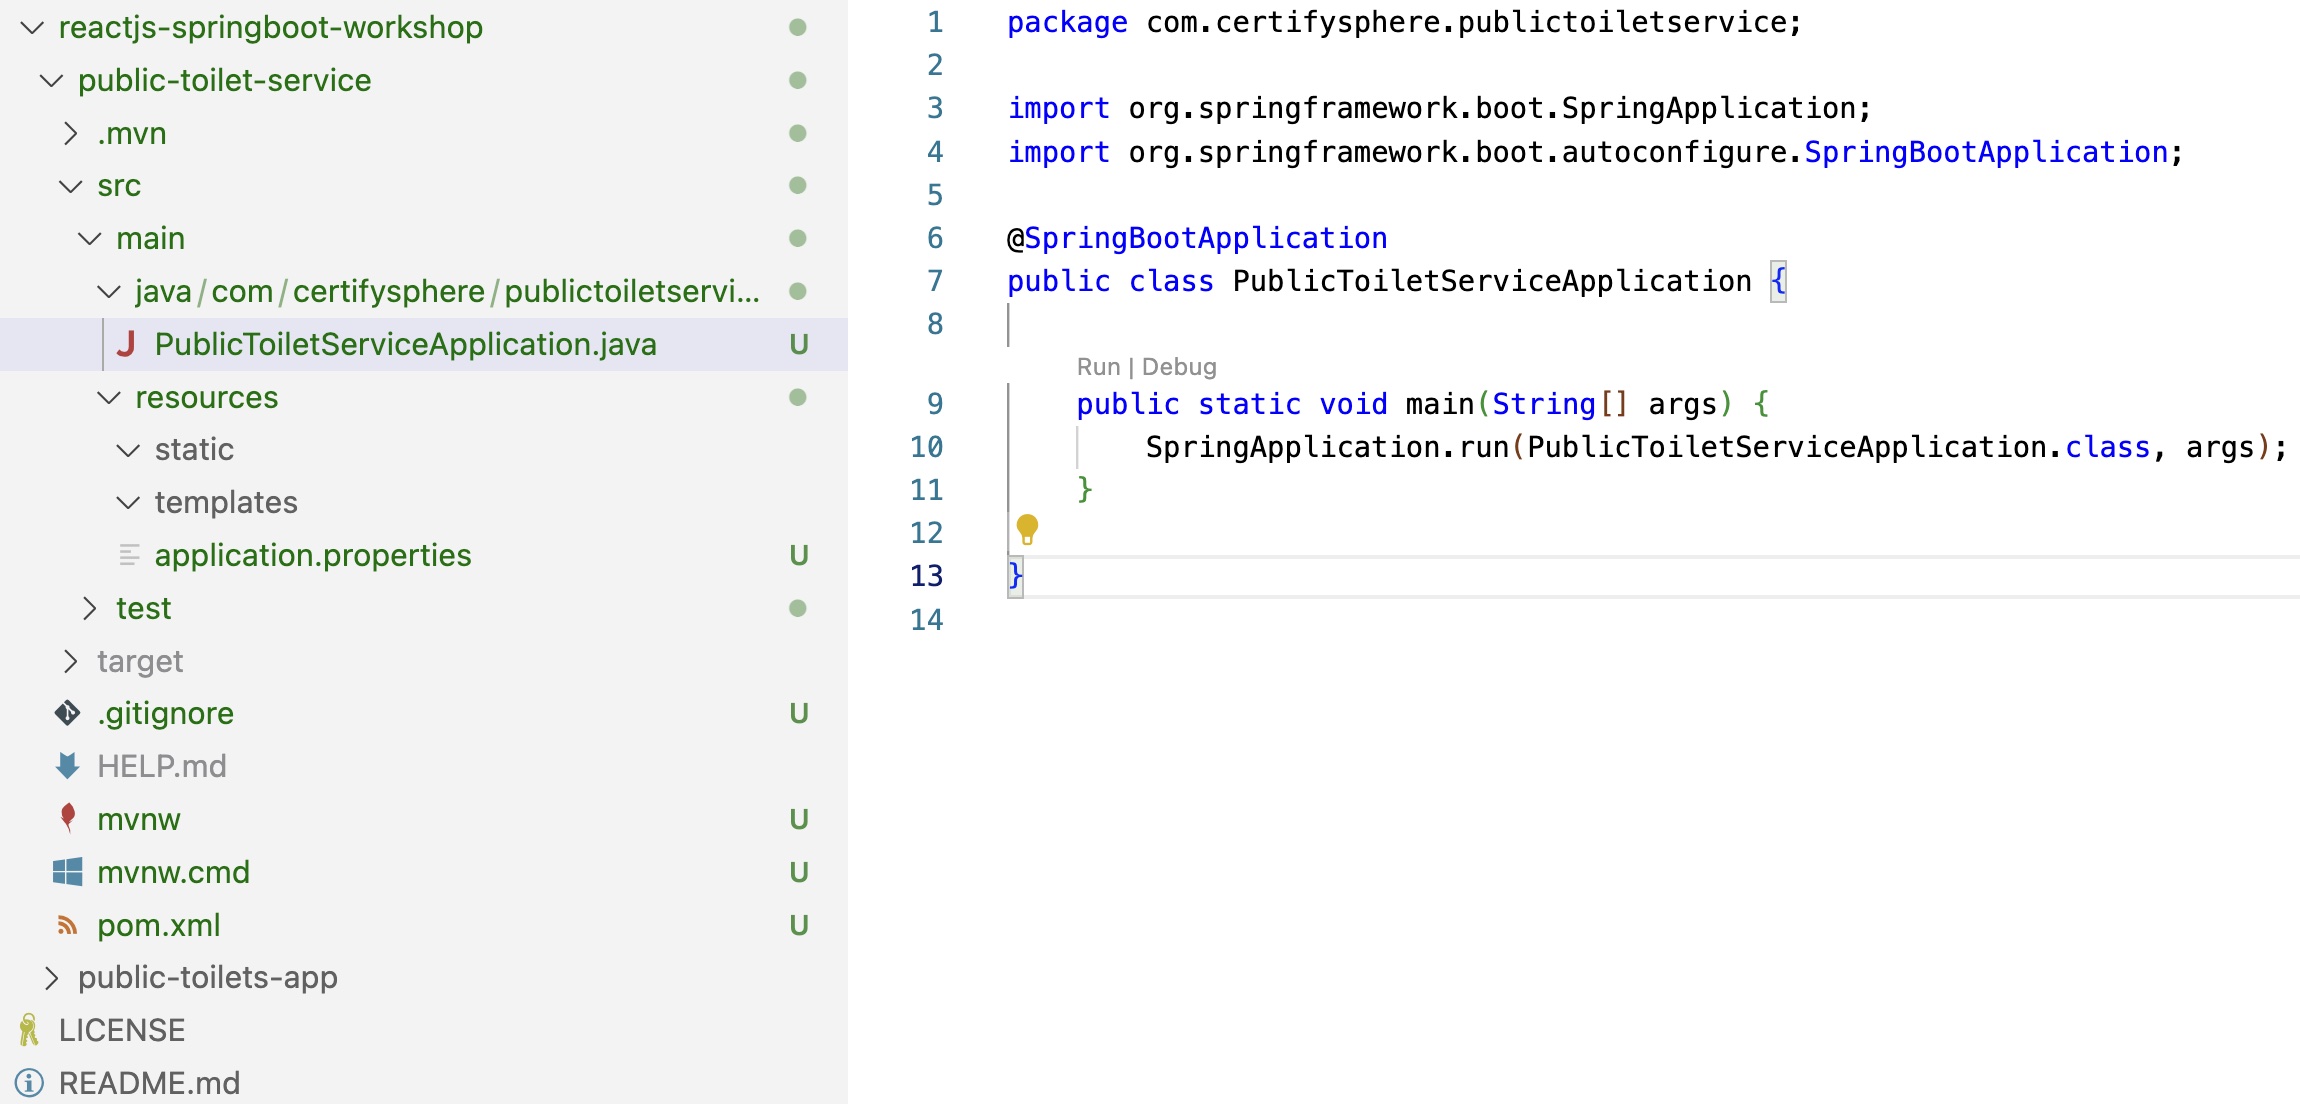
- In VS Code, you should see a "run" option on top of our main class,
PublicToiletServiceApplication. (See Screenshot below.) - Click on the run option, and you should see the following log message in the end of console window:
INFO 52563 --- [main] c.c.p.PublicToiletServiceApplication: Started PublicToiletServiceApplication in 3.033 seconds (JVM running for 3.48)
- Access the service:
The service will be accessible at
http://localhost:8080. - If the application doesn't start, troubleshoot the error before moving to the next step.
- SpringBoot VS Code Run Option
Github Repo
You can also refer to and clone the code up to this section from the GitHub repository using the with-initial-backend-service branch.
To clone the repository, you can use the following command:
git clone --branch with-initial-backend-service https://github.com/certifysphere/workshops.git
This will clone the repository and checkout the with-initial-backend-service branch, which contains the code up to this section of the workshop.
You can then navigate to the public-toilet-service directory to access the Java and Spring Rest Services code:
cd workshops/reactjs-springboot-workshop/public-toilet-service/